Help & Support
Quick start: the first 15 minutes
A complete walkthrough from the first login to the first entry — detailed enough that you never have to guess.
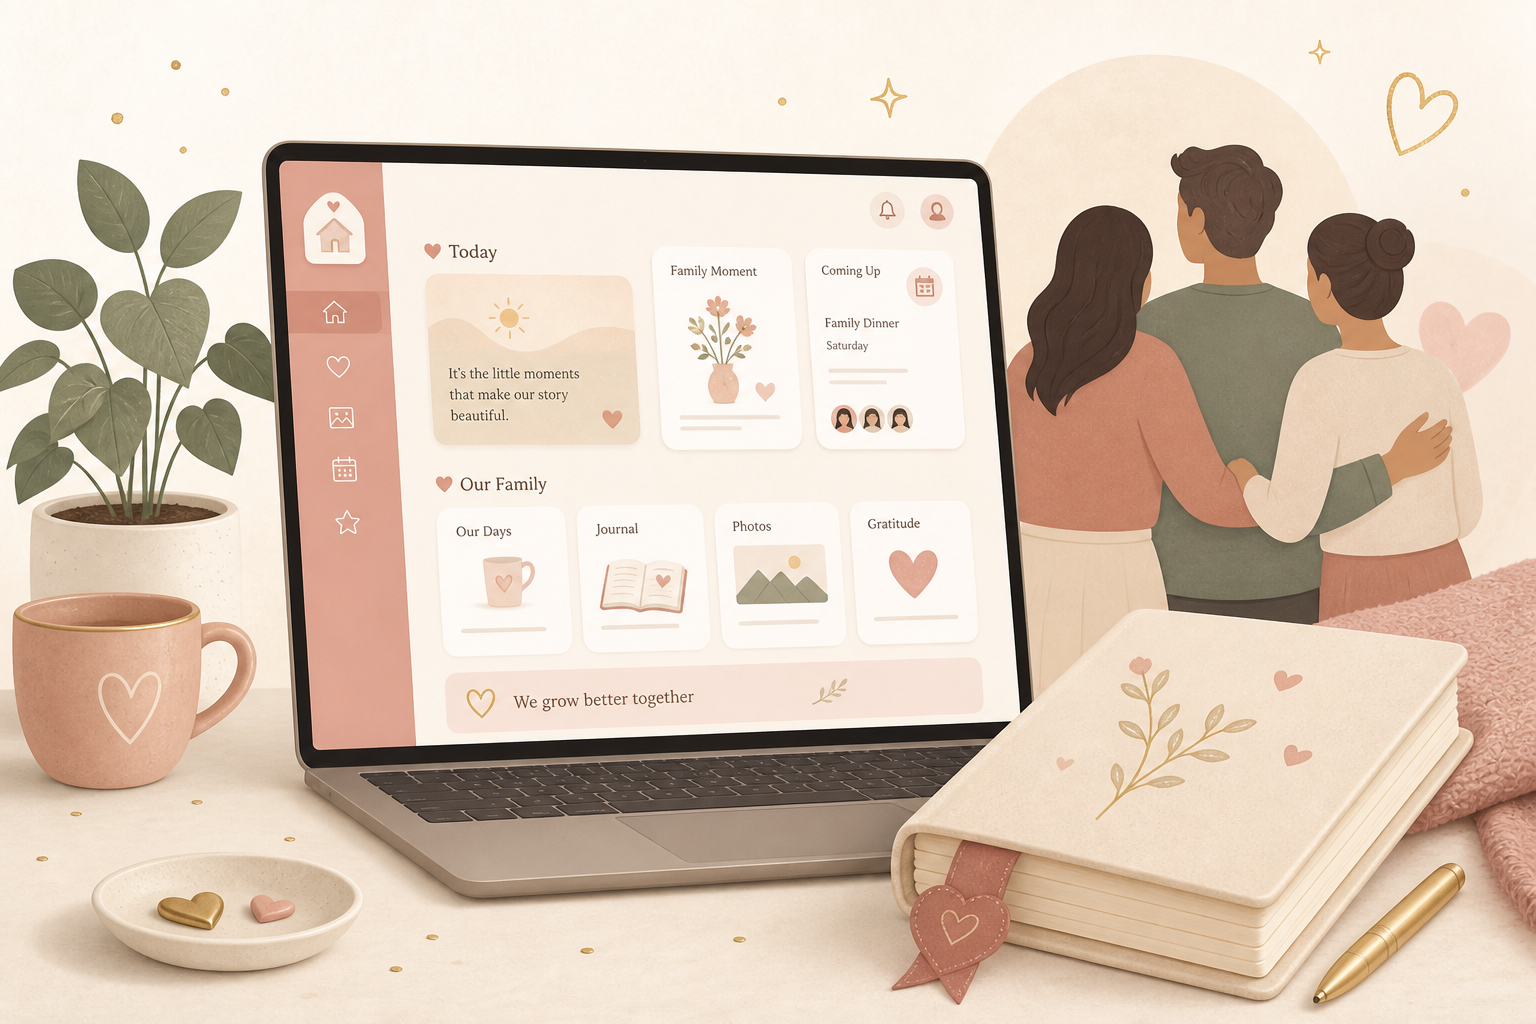
Evermora is a private family diary. You create an account, add at least one child profile, write entries, and only then decide who to invite. The app shows only the areas that match the child’s age and your role.
What you should have done after 15 minutes
- Account created and email confirmed
- Logged in — and entered 2FA or the E2EE passphrase if required
- Onboarding completed or skipped
- At least one child profile with a name created
- First yearbook opened
- A complete diary entry saved
Step by step
- 1
Open the app and choose Register
Go to the home page and click Register, or open /auth/register directly. If you already have an account, choose Log in.
- 2
Create an account
Enter your email, password (at least 6 characters) and a username. If the Invitation code field appears, paste the code you received. Click Register.
- 3
Confirm your email
Open the inbox for the address you entered and confirm the link. Without this step, login stays blocked. Check the spam folder as well.
- 4
Log in
Open /auth/login, enter your email and password, and click Log in. If two-factor authentication is enabled, Authenticator code appears. If end-to-end encryption is enabled, Unlock diary appears.
- 5
Complete onboarding
After the first login you often land on /onboarding. Click Let’s go or Start setup. You go through: Welcome → Profile → Child → Design → Done.
- 6
Set your profile name
In the Profile step, enter your display name, e.g. “Micha” or “Mum”. This is the name other family members see on your entries. Click Save & continue.
- 7
Add a child
The child’s name is required. Birth date and gender are optional, but important: the birth date controls which trackers appear in the sidebar. Click Add child. You can also choose Add later and create the child afterwards on the dashboard.
- 8
Check the dashboard
Open /dashboard. You see one card per child. From there you open the yearbook, child settings, or — if you are allowed — Invite family member.
- 9
Open the yearbook and write the first entry
Click the child card or Yearbook. At the top right or via Create, choose Diary entry. Fill in at least the What happened? field and click Save. Done: your first chapter exists.
What the app decides automatically
You do not need to hunt for every page yourself. Evermora shows or hides modules according to three rules.
- Child’s age
- A newborn sees Sleep, Diapers and Bottle. A school-age child sees School, Homework and Pocket money. Without a birth date, some age-based modules stay hidden.
- Your role on the child
- Owner, Parent and Family may write. Friend and Viewer see content, but no Add or Delete buttons.
- Free or Premium
- The free plan includes 1 child, 2 people per child and 50 MB of storage. Premium unlocks trackers, Memories, Photobook, Growth, family tree, AI and more storage.
If something is missing
Quick troubleshooting
- 1
I cannot see a child
You are probably not invited yet, or you finished onboarding without adding a child. Go to the dashboard and click Add child or Add first child.
- 2
I cannot see any trackers
Check the birth date in child settings. Very young children get baby trackers; older children get school modules. Many trackers also require Premium.
- 3
I cannot save anything
Your role is probably Friend or Viewer. Only Owner, Parent and Family may create entries. The full role overview is in the “Roles & sharing” guide.
- 4
The page says it is unavailable
An admin can temporarily disable individual pages. Go back to the dashboard or send a support ticket.