Help & Support
Write, edit and delete diary entries
The heart of Evermora: how to create an entry, fill in every field and find it again.
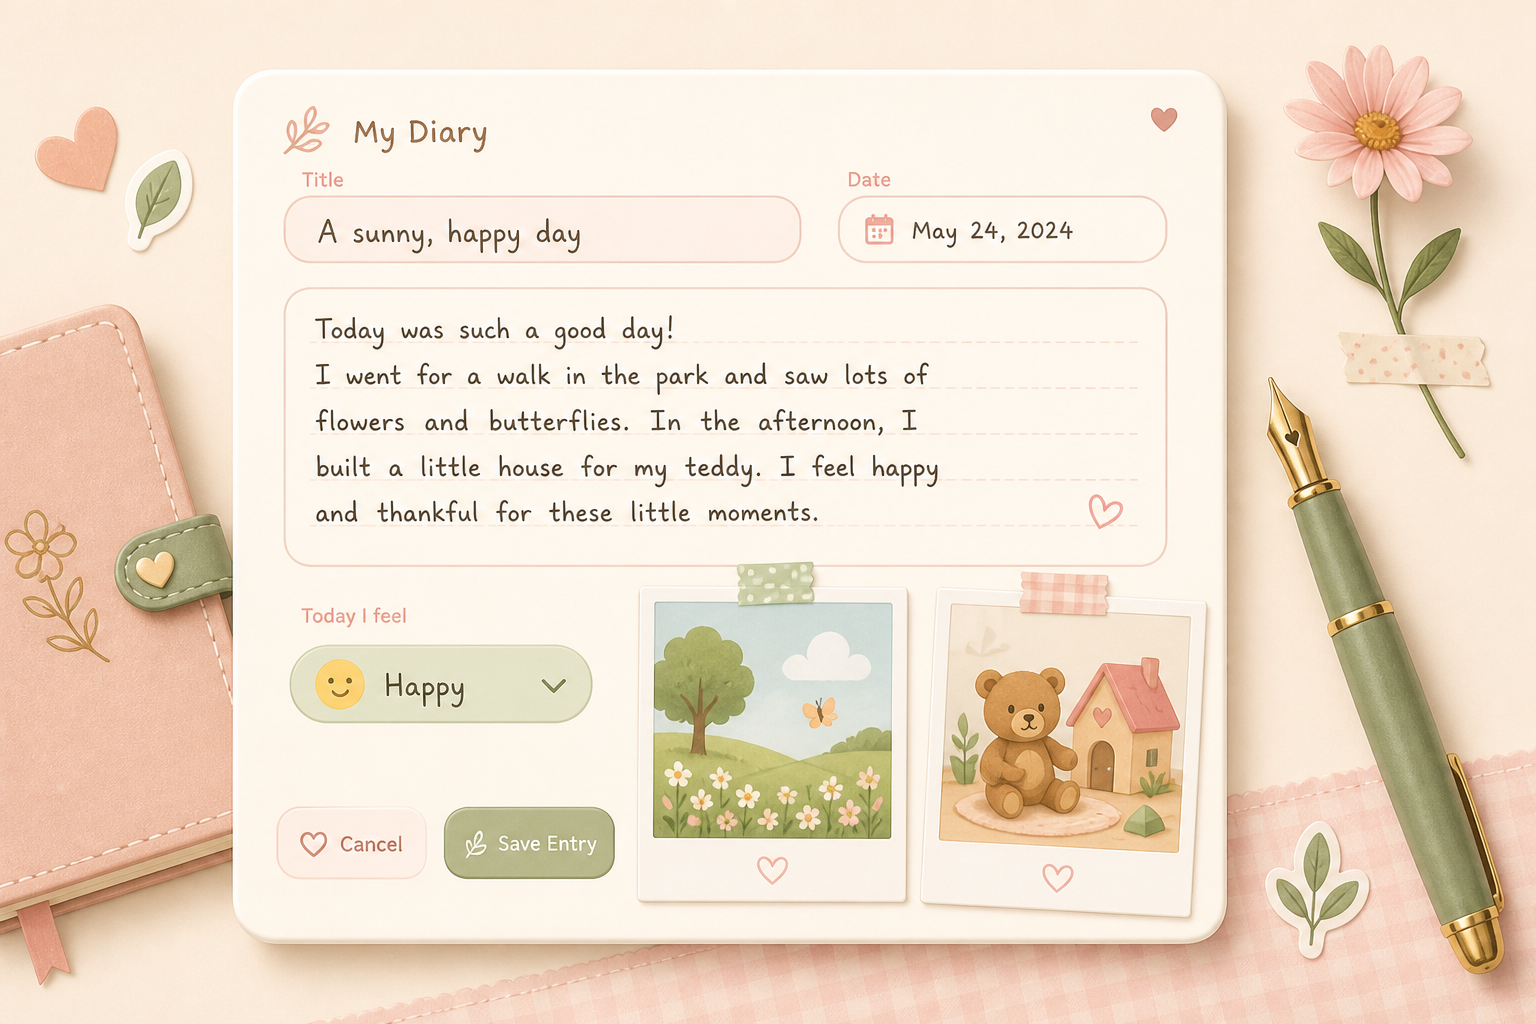
An entry always belongs to one child and one yearbook (usually one year of life). You write what happened, can add mood, location, tags and images, and later find everything again.
Open a new entry
- 1
Choose the child
Go to the dashboard and click the child’s card. You land on the yearbooks at /child/[id].
- 2
Open the yearbook
Click the year you want (e.g. “1st year of life”). Alternatively: Create at the top → Diary entry. If several yearbooks exist, you choose the yearbook first.
- 3
Start the editor
In the yearbook click Add entry or New entry. The editor opens.
Every field in the editor
- Title (optional)
- A short heading, e.g. “First visit to the zoo”. If you leave the field empty, Evermora still saves the entry.
- Date and time
- The date is the event date, not the save date. Time is optional, but helps later in the Timeline.
- What happened? / Content
- The required part: write in full sentences what you want to keep. Tip: start with keywords, then improve with AI — if Premium and the feature are active.
- Mood
- Options include: Happy, Cheerful, In love, Tired, Sad, Sick, Defiant, Excited, Relaxed, Proud. The mood later appears in filters and in the emotions diary.
- Location (optional)
- e.g. “Home”, “Paediatrician”, “Grandparents”. Helps you find the entry again.
- Tags
- Short keywords such as “holiday”, “grandma”, “sick”. Several tags make search easier.
- Images
- Maximum 10 files, 10 MB each. Drag and drop or choose a file. If “Image uploads are currently disabled” appears, an admin has turned uploads off.
- Share publicly
- Only turn this on if you deliberately want to show this single entry outside the family. The default is private.
- Move entry
- If the entry lands in the wrong yearbook, you can move it to another yearbook of the same child.
Save, edit, versions, delete
- 1
Save
Click Save. Keyboard: Ctrl + Enter (Windows) or Cmd + Enter (Mac). Wait until the editor closes or a success message appears.
- 2
Edit later
Open the entry and choose Edit entry. Change fields and save again.
- 3
Restore an older version
If available: open Version history and choose Restore on an older version.
- 4
Delete
Only with write access. Confirmation: “Delete entry?” → “Do you really want to delete this entry?”. Deleted entries are then gone.